Monday, 20 February 2023

4 KSLI Platoon 12, an 'O' Group Battalion and Support


The 15 figures of Platoon 12 completes my 4th King's Shropshire Light Infantry, B Company in 'O' Group terms. All the figures are from Peter Pig.

It also means I now have the basics of an 'O' Group British battalion plus some supports, albeit one of the companies, the mortar FOO, 6 pdr guns and two Vickers MMGs using bases that I painted years ago for 'Overlord' rules). The Daimler Dingo is also an old one and doesn't match the painting style of the other vehicles (or have the correct markings). 


Next on the list for the British are the carrier platoon, new bases for the FOO, MMGs and 6 pdrs and Lloyd Carriers as anti tank gun tows. Replacing that third company with new bases is well off to the right of my schedule.

Before that though, I need to paint some more Germans - infantry, PaK 40s and their tows. 


Sunday, 1 January 2023

Daimler Armoured Cars and Churchill AVRE in 15mm

These models are something of an indulgence, painted when I should have been working on more infantry platoons. They aren't needed for the core of my 'O' Group forces but are models that I've wanted to have for a long time. 

They were bought with half an eye to possible scenarios. In the case of the Daimlers, I imagine them, with a couple of Dingos and maybe a carrier platoon, seizing an undefended bridge and then trying to hold it against piecemeal German attacks as both sides frantically try to feed in reinforcements. For the AVRE it would be simpler - provide an option to blow up some obstacle or fortification. 

At the start of my career, I worked for Jaguar Cars at their Radford engine plant - or 'the Daimler' as it was locally known so I felt I had a bit of a connection to the Daimler Armoured Car (and the Dingo) and there is a good example in the Coventry Transport Museum. https://transport-museum.com/visiting/daimler-armoured-car.aspx

My two models (from Skytrex's Command Decision range) are painted as belonging to the Inns of Court 'The Devil's Own' armoured car regiment. Originally a corps-level asset, elements of the regiment landed early on D-Day, on Juno beach, and were given a special mission of penetrating inland with attached engineer units to block German reinforcements from crossing the Orne by demolishing bridges. They spent the rest of the Normandy campaign scouting for 11th Armoured Division and were eventually allocated formally as division troops. My rather limited markings are meant to represent them after this so would be incorrect for most of the Normandy battle.

The division symbol is a new Skytrex decal whilst the 44 of an armoured car regiment is a much older decal that I over-painted because the colours and definition were so poor.

The AVRE is painted as belonging to the 6th Assault Regiment of 79th Armoured Division. The division emblem and star are from Skytrex and the blue arm of service rectangle is hand painted.


Sunday, 4 December 2022

More Shermans - B Squadron, 3 RTR Complete

These three PSC 15mm Shermans and Peter Pig tank commander complete my scaled down squadron of three troops of three tanks each plus an extra 75mm Sherman to represent the squadron HQ. I have a couple of PSC models left over and one Skytrex Sherman V painted in my earlier dry-brushing style. I'll probably complete these at some point to replace the bodged hybrid PSC/Skytrex model or give a fourth troop but that's a very low priority.

As I post this, I realise I have missed off the aerials, although the holes or all drilled ready so I'll have to add those at some point. 


The painting technique is the same as with the previous ones - airbrushed with successively lighter shades of SCC15 with exaggerated contrasts and the details and final hi-lights by brush then brought together with a filter and pin wash, as described by RubĂ©n Torregrosa on his Heresy Brush blog. However I skipped the chipping, streaking and mud stages as I wanted a cleaner look and feel that, at this small scale, it is easy to lose the detail and even the overall look of the vehicle. 

Another difference was that I used Vallejo paints, with a base SCC15 mix of 1 part 888 Olive Grey to 1 part 924 Russian Uniform. My shade colour was the 1 part SCC15 mix to 1 part black and the airbrushed first hi-light 3 parts SCC15 to 1 part 976 Buff. The top (brushed) hi-light was roughly 1 part SCC15 to 1 part buff. 


With a growing collection of vehicles finished, I needed somewhere to store them. My infantry are in the ubiquitous Really Useful Boxes, 4 litre size with two shallow MDF trays from Warbases. to save space. All my infantry bases are magnetised but I prefer vehicles, at least the larger ones, un-based needed some other solution to stop them moving about and getting damaged. My solution was to buy some 20mm upholstery foam from Dunelm. One £5 piece is enough for three boxes, which should be plenty for all my WW2 vehicle storage. I marked it up with a soft pencil and made the cuts with a new craft knife blade. 

Actually 20mm was too thick - 1/2" or 15mm would have been perfect - but, despite looking for a long time, it was the best I could find without buying huge quantities. The main problem is that the gun barrels on tanks like the Firefly, that overhang the hull, sit lower than 20mm off the ground. My rather awkward solution was to cut the cutouts in half across their depth. 


Monday, 24 October 2022

British Battalion HQ, Normandy 1944


I wanted to make a small diorama for my 4 KSLI Battalion HQ in Normandy, 1944. In line with the the pattern established by my platoon and company bases, it would be a round base and, going up another step in size,  60 mm diameter with 5 figures to represent Lt. Colonel Miles, Major Robinson and some immediate support staff. A fairly static grouping, as though they were monitoring the battle and considering what to do seemed appropriate but this is difficult with the late war British Peter Pig figures, as they tend to be in quite dynamic poses.

Battalion HQ would obviously have a radio (more than one really but compromise is needed with only 5 figures). The Peter Pig radiomen models are either walking about carrying the radio or lying prone as though seeking cover - great for mobile a company command or a forward observer base but not so good here so I scratch-built a Wireless Set No. 18 from plastic, wire and some aluminium foil and chose a kneeling gun crew figure as the operator.


Having watched several 1970s war films, especially 'A Bridge Too Far', I learnt that the British Army spends all its time drinking tea rather than showing any sense of urgency or fighting. For Lt. Colonel Miles, I chose a figure in a peaked cap from Peter Pig's British drinking tea pack of figures with another as a guard to stand at the edge of the group. That tea had to come from somewhere so I also scratch built a No.12 camp stove with a kettle sitting on it and a seated crew figure from Plastic Soldier's Universal Carrier to watch over it. Obviously considerable simplification was needed as the stove base is only 2.8 mm square but I hope it is still recognisable. 

For the German HQ, I'm thinking eating wurst and drinking weissbier!


I completed the group with a parked jeep (also from Peter Pig) and a standing officer to represent Major Robinson, the battalion 2.I.C.


As mentioned above, the idea was to keep with the theme of my platoon and company command bases but show a clear step up.


Friday, 1 July 2022

Painter's block unblocked.


I started these back in  April but have been struggling to focus on getting them completed. Part of the problem, I think, I that I have too many half-completed jobs on the go at one: two batches of British infantry, some half-painted vehicles and some part-assembled carriers. It just makes it too easy to go off and do something else - displacement activity rather than real progress. Eventually though, I did get my act together and finish them.

I've decided the first priority is to get the minimum bases for a full British battalion for 'O' Group. This means three company HQ bases and 9 platoons (so 27 infantry bases) plus a carrier platoon, a FOO (or two), 6 pdrs and AFV support. With this batch, I have the company HQs and just enough infantry bases for the 9 rifle platoons (lets just assume that one of the four rifle companies is left out of battle and accept using PIAT or 2" mortar bases to make up the numbers as well as using my earlier figures based up for 'Overlord') and plenty of support but no carrier platoon. 

This is my first British platoon fully painted to my latest standard. Eventually, I'll have 6 of these plus the carrier platoon. Later I'll add the platoon commanders, PIATS and 2" mortars but, as these aren't needed for 'O' Group, they can be a second priority for now.


I've now got my 3 company command groups. I've decided to have round bases for all my commanders: 30mm dia for platoons, 40mm dia with three figures for company and 60mm for battalion. 


As previously mentioned, my British force is meant to represent 4th King's Shropshire Light Infantry and supports (mainly 3 RTR) from 11th Armoured Division. This choice was partly based on a visit to Shrewsbury castle, when I lived nearby, and the purchase of an account of the battalion's experiences in Normandy written by Ned Thornburn who had commanded D company. His book included a list of all the officers at the start of the Normandy battle so I decided to use that list for my command bases. It seems rude to not have Ned represented on the tabletop so it will be C company that is left out of battle / in reserve for my force.


By the way, apart from the last photo of the name labels, I used in-camera focus stacking for these pictures for the first time. I'm not sure I like the effect - there are some strange artefacts around some figures and it just looks a bit unnatural. Maybe this is just a matter of understanding the mode better and changing some details of the settings but at the moment I'm thinking I will revert to normal single shots next time!


Monday, 25 April 2022

Marker tokens for 'O' Group


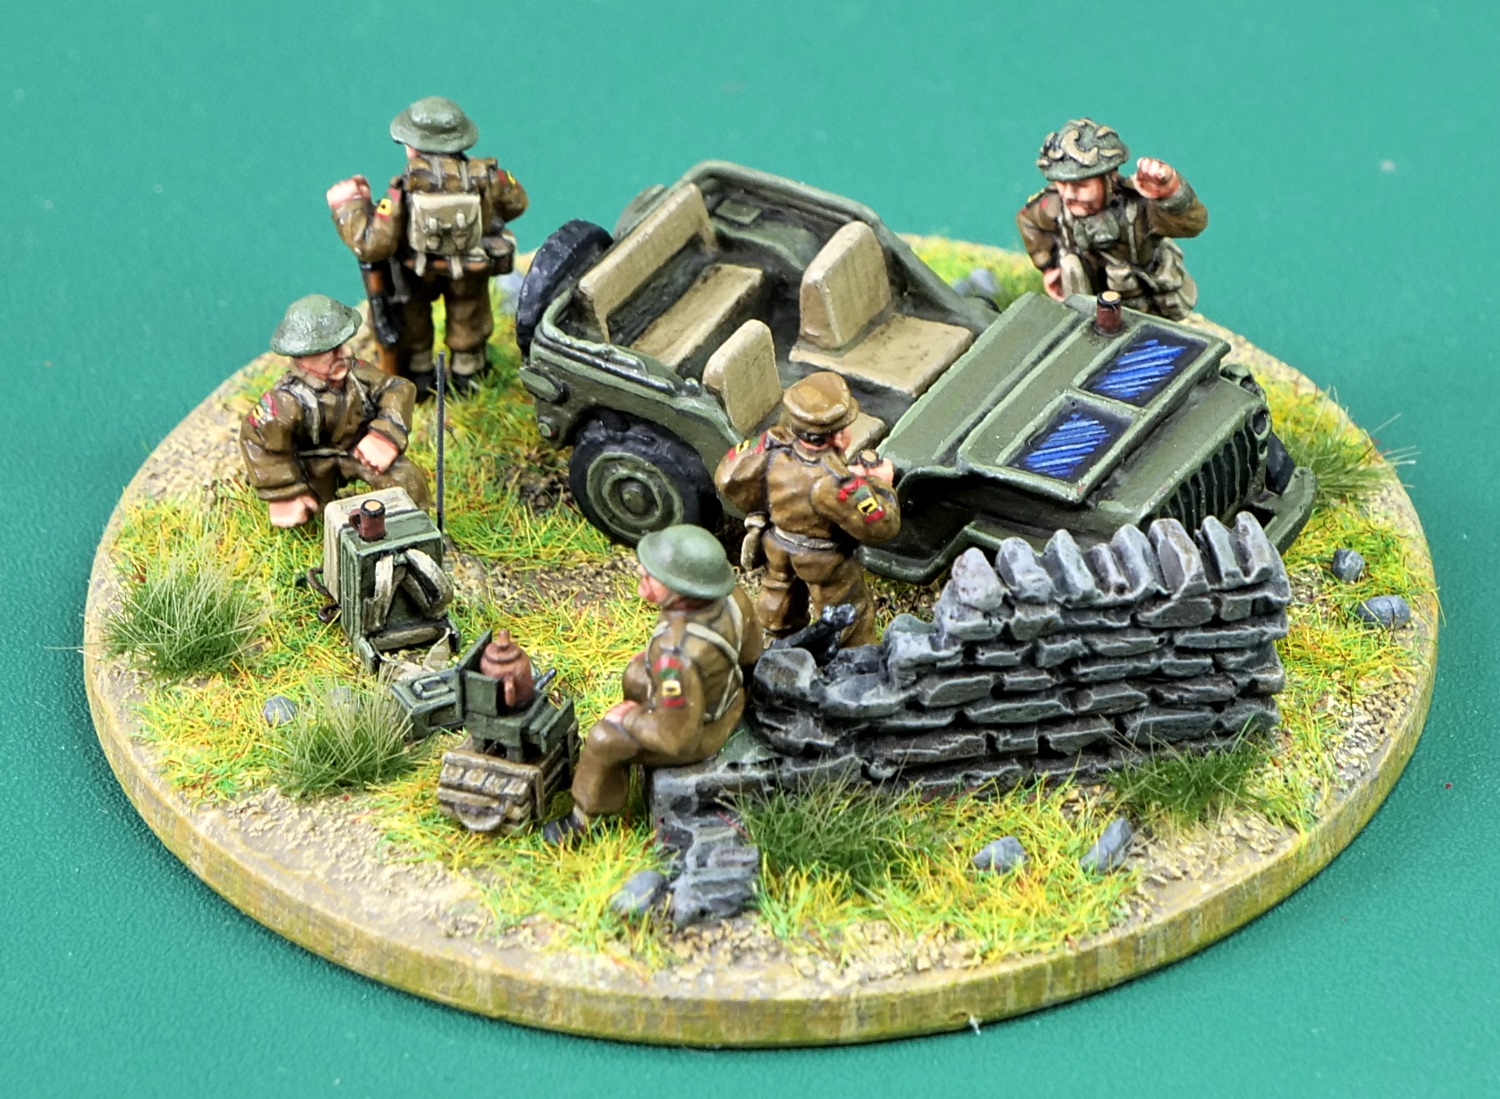
'O' Group requires a number of different tokens: Combat Patrols for each side, different levels of shock (the mechanism used to represent casualties and morale), orders and something to denote a hesitate company or a company commander who has been suppressed by enemy action.

As with most rule sets you can buy these but it is quite easy to make your own, assuming you have access to a printer and some software to layout clipped images and create text boxes. I used Microsoft Excel which, I suppose, shows familiarity is more important than whether the software was actually intended for the job.

Patrol markers are used for semi-hidden movement and create uncertainty and the fog of war. For these I just found suitable images online of the Allied recognition star and German Iron Cross then cleaned them up in photo-editing software and clipped them into squares suitable to print at about an inch across. The Russian star was drawn in Excel. One thing I found was that a square on the spreadsheet actually printed slightly flattened out so I had to elongate them to get a square print - I don't know whether that's a quirk of my computer, Excel or my printer but once you know it is there, it is fairly simple to fix.

You can see, in the screenshot below, that I did two sets side by side - one set with dividing lines and one without. When I have previously made tokens, I made them single-sided which leads to the time wasting chore of turning them right side up to see what is what. This time I decided to make them double sided. I just printed them out onto A4 paper (photo paper for the stars and crosses), cut round the large blocks of front and back tokens then spray glued the front set onto some card, cut round the outside then glued the reverse side, taking care to get the alignment as good as I could. The idea is to separate the individual tokens by cutting through from the side with lines so any slight out of register on the reverse side won't show up so much. 

For the other tokens, I tried to use colours to group like tokens together and show the escalating seriousness of accumulated shock. Whilst I like the idea of unobtrusive or minimal token, at this stage of learning a game, I find having them pretty obvious and incorporating reminders, like 2 shock - hesitant and 3 shock = suppressed is helpful. Maybe with greater familiarity we can swap to something that looks nicer on the table.


In the meantime though, this gives a functional set of tokens and markers and, if greater experience shows they need tweaking, it will be easy to make changes.


Wednesday, 20 April 2022

Burning vehicle markers

Rather too much fire and not enough smoke on this one. 
Easily fixed next time I have my airbrush out.

I have been meaning to make some burning vehicle markers for some time and finally got round to it over Easter. 

The first step was to look at some online photos for burning tanks. The general pattern seemed to be lots of billowing black smoke; the lower part very turbulent, almost bubbling, and red-yellow fire showing through the smoke.

Some while ago I received a parcel that was packed with a large piece of synthetic wadding. I used some of it to make smokescreen markers and put the rest aside in my hoard of potentially useful things. 

I made two types of markers - some free-standing ones with weighted bases and some others to tuck under tank turrets. For both I glued the wadding to the base and teased it up into the rough shape of smoke rising from a fire.

After a bit of trial and error the process I settled on was to start by painting the lower part of the 'fire' red (cheap acrylic hobby paint). This left bits of white wadding showing through but as it dried it gave some stiffness and texture. 

I then airbrushed more red (watered down Vallejo) to give a uniform coverage. Airbrushing alone left the wadding too fluffy and the subsequent dry-brushing stages didn't work. I then dry brushed over the red with bright orange and then yellow. This left the top part just airbrushed or completely unpainted.

The final stage was to airbrush the top 'smoke', around the base and some lines swirling up through the fires in black. The overall effect is OK, I think, especially as they were quite quick to make and cost almost nothing.