Monday 21 September 2015

French Valois Arquebusiers

Having looked around for a while for suitable figures, I bought a bag of Old Glory generic arquebusiers RGE6 from Time Cast Models.

I painted up the first batch with a limited range of colours but they looked too much like Landsknechts and I didn't like that they all wore identical hats. So, after seeking some advise on the Miniatures Page, I modelled a selection of new hats and helmets with Miliput. The first ones were rather clunky but I was quite happy with the later ones. The officers are a couple of spare sword and bucker men from Venexia and Essex modified a bit to give them similar headgear to the others and remove the baggy pantaloons on the Venexia figure.


Once painted and mixed in with standard figures, this gave much more of the look I had wanted.


Sunday 20 September 2015

Making lances

I originally posted an explanation of my lance-making process on the Slithering FOG-R board last year - I'm playing catch up with this blog to get to the current state of my painting progress.

It sounds a long process but each step is quick and, if you do a few together, it doesn't take long at all.

I use 0.8 mm brass wire. After shaping the point and cutting them to length, I mix up some Milliput and roll some into a long, thin (about 1mm dia) sausage. I cut a piece (about 30 mm long, IIRC) and wrap it around the lance in a spiral, starting with the spirals close together at the hand-end and widening the helix towards the point. I then roll the lance ona smooth cutting mat. Surprisingly this spreads the Milliput around the wire core very evenly, keeping the wire central. Then I set them aside to cure. Before the Milliput is absolutely hard, I cut the step for the hand with a sharp knife - doing it then avoids the risk if chipping or fracture.

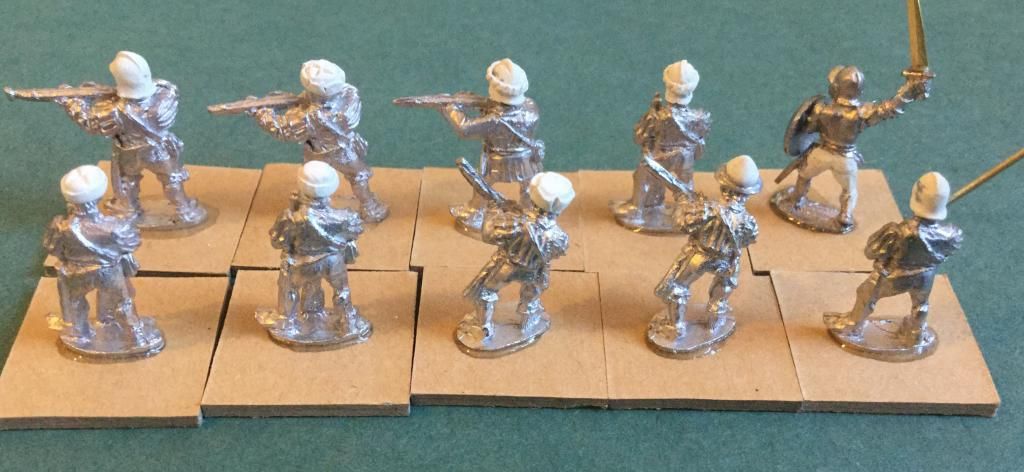
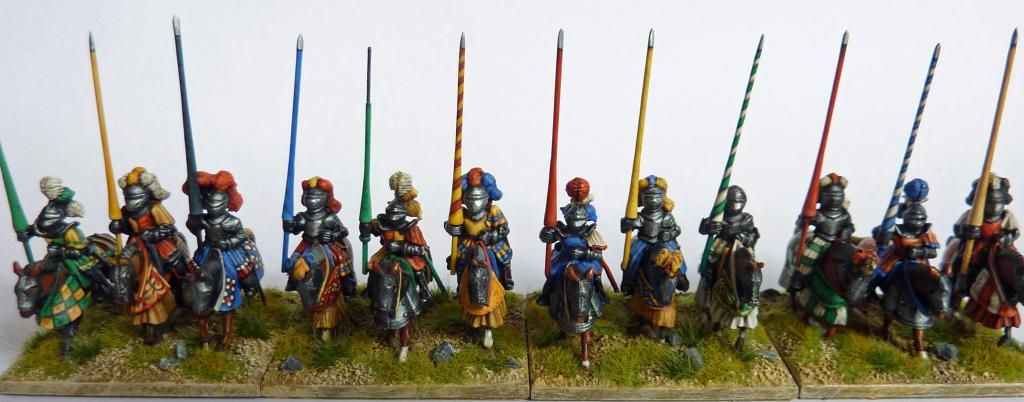
Here is a photo of the lance making process:


For sanding the lance to final shape, I hold the lance in a pin vise. Rough shaping is with a file to give a uniform cone then with folded-over sand paper wrapped around a dowel to give the flared profile (the nose of the vise helps with this) and smooth surface.

The extra-long ones are for Essex figures, to compensate for needing an extra few mm below the hand. Although it makes the proportions wrong, I prefer to have the extra stability of having the lance glued to the figure at two points.

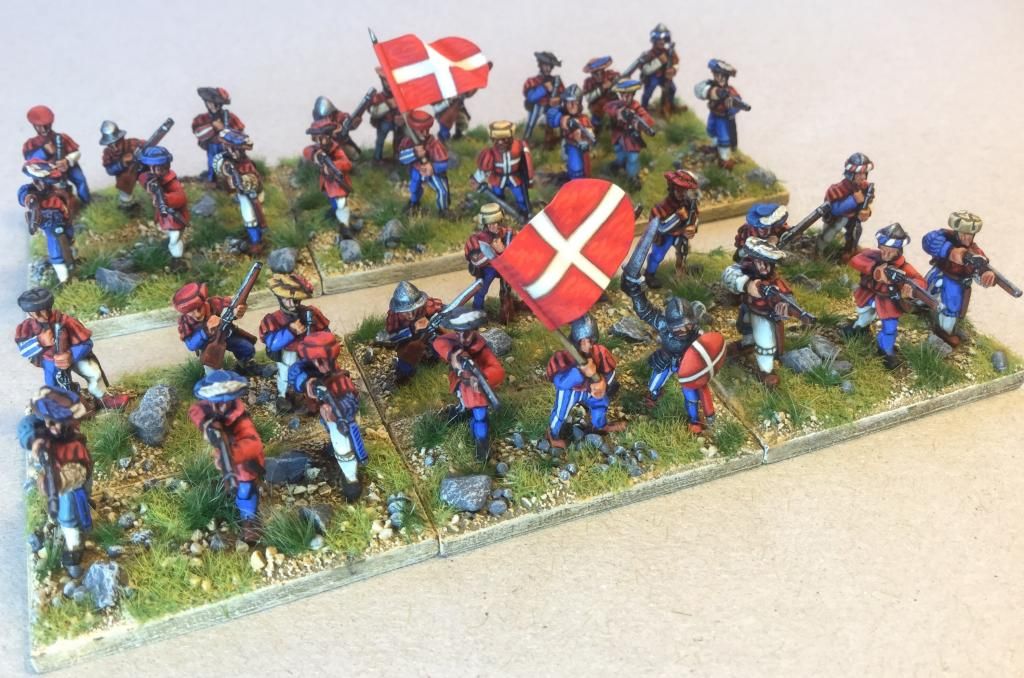
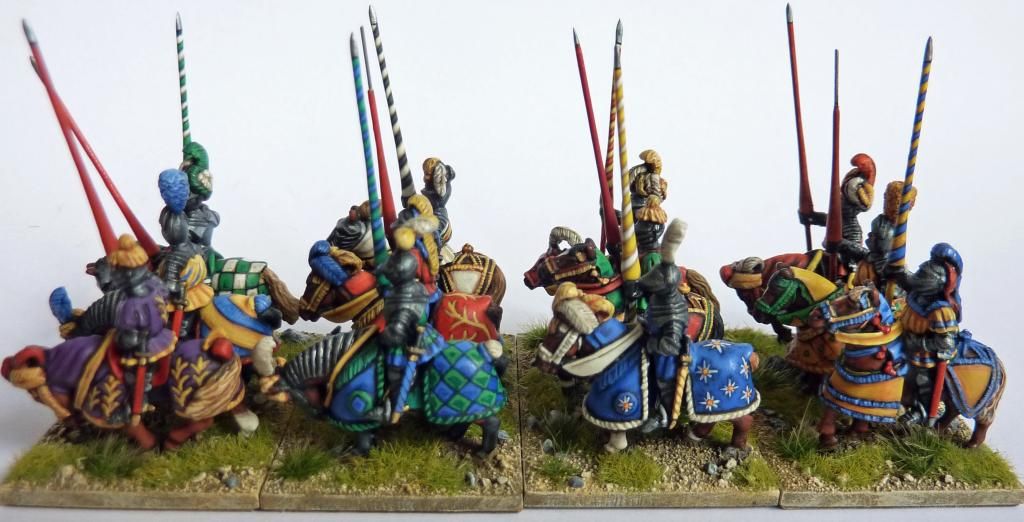
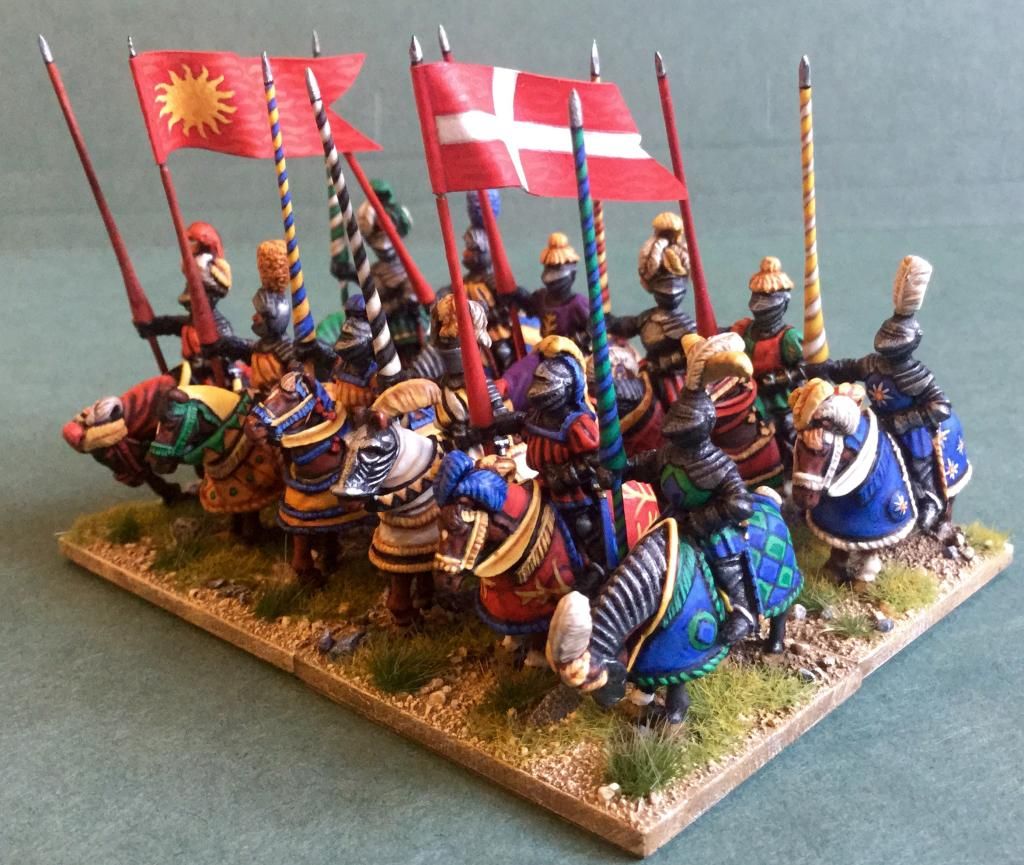
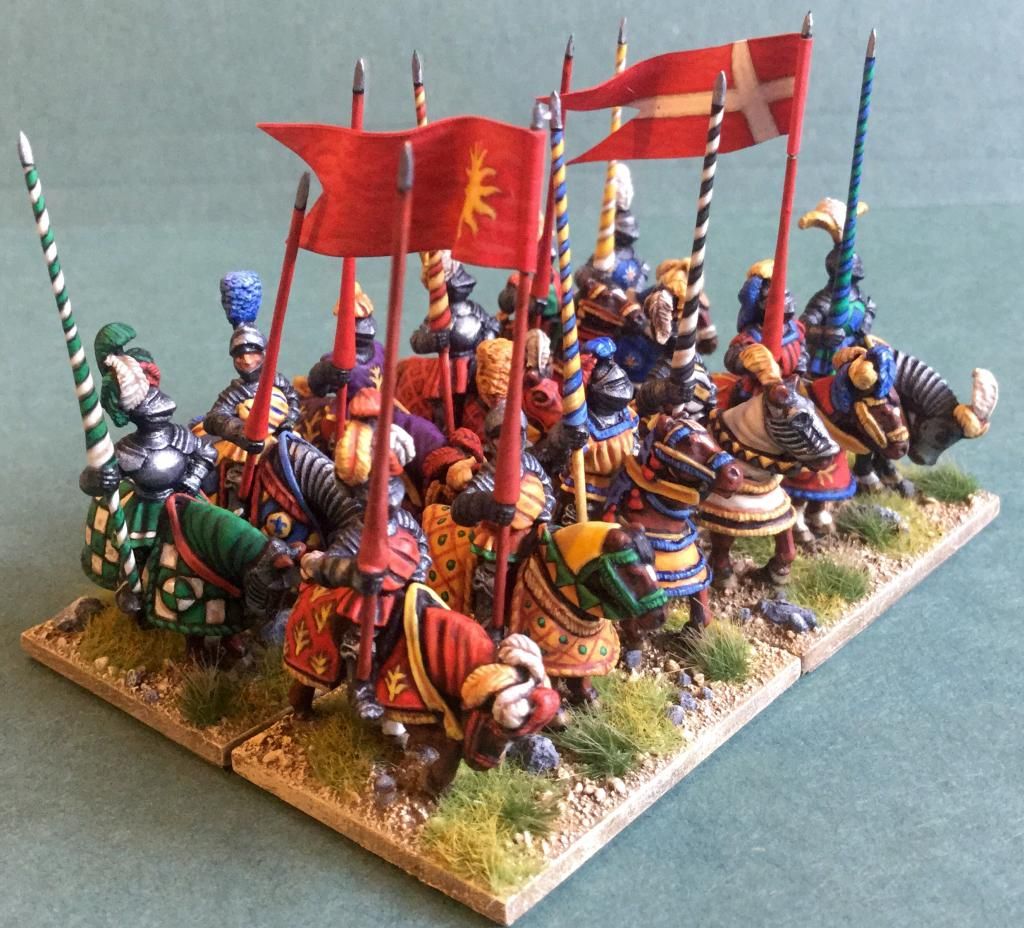
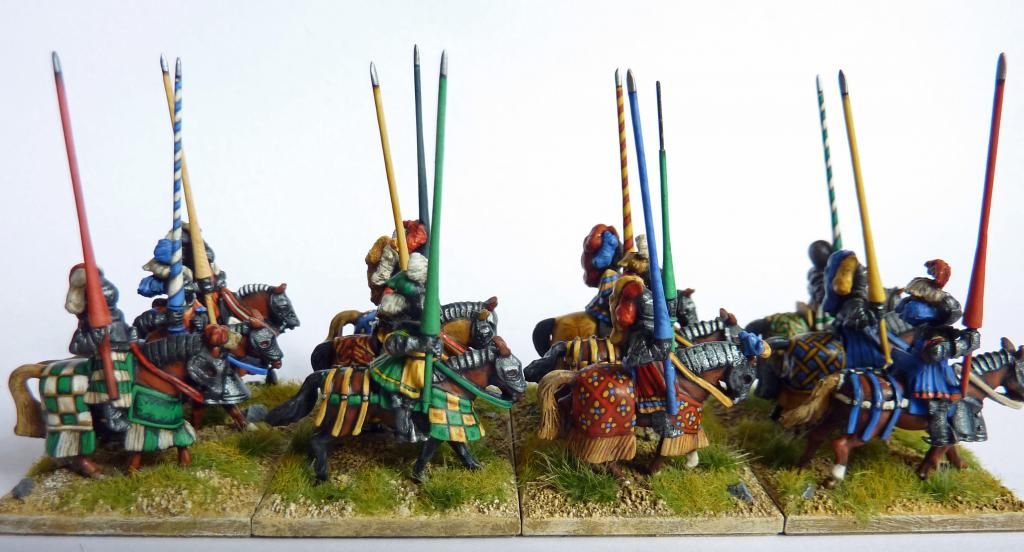
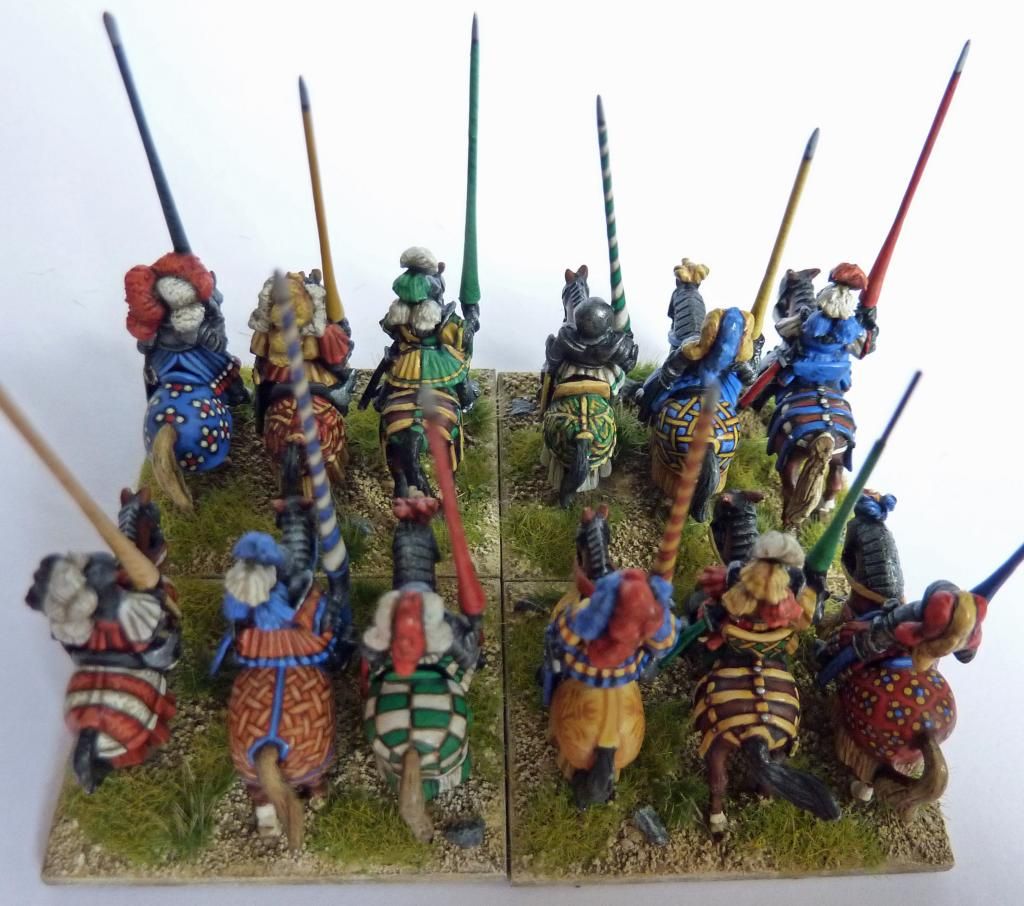
I painted about half the lances with the 'barber's pole' spiral pattern. Tis was also done in a pin vise, free hand, painting a bit then rotating 45 degrees or so and painting a bit more. You can actually do multiple steps, equally spaced for each rotation. If you look close enough, the spirals aren't that neat: I use a three shade method so the boundary from one colour to the other is softened, averages out and looks smooth. It takes a bit of practice but the method is quite easy. One thing to look out for is that to keep the spiral thickness about the same, the helix needs to change as the diameter reduces. The sad thing is that I suspect the barber's pole lances were not used in battle but they look pretty.

Essex Gendarmes

I have rather mixed feelings about these figures. They are very cleanly cast with good detail but most of the horses have a rather heads-down defeated pose and the thick, cast-on lances are held out to the side in what looks a very uncomfortable pose. Some of the figures are perfect for French Gendarmes but others are more Germanic looking and one had what looks more like a jousting helmet than the typical close helmet / armet.

One of the horses has barding straight out of the Triumph of Maximilian - although very well done, it just doesn't look like the smoother style of barding seen used by French Gendarmes in the Pavia Tapestries and the Voyage de Genes. I wish in hindsight that I had remodelled this with Miliput.


As with the previous group of Minifigs and Asgard / TTG Gendarmes, I replaced the lances with wire/Miliput and bent the arms to bring them closer to the body.


More Gendarmes

My lead mountain contained some more, unpainted 2nd and 3rd generation Minifigs and old Asgard gendarmes and painting another couple of units of Gendarmes was next on my jobs to do list. I only had enough figures for one unit so I sent off for a dozen Essex gendarmes to try to get more variety. When these arrived the difference in build was far too much to mix them in with the smaller and thinner Minifigs and Asgard/TTG figures in the same unit, though I thought they would look OK on the table together. 

One problem was the huge difference in their lances. I normally replace spears, pikes and lances with brass wire but plain wire doesn't look much like a late-medieval / renaissance lance, even with the blobs of epoxy that had seemed OK as a hand guard when I painted my old unit of gendarmes. Eventually I found a fairly quick and effective way of making replacement lances with brass wire and Milliput. I posted a how to for this some while ago on the Miniatures Page and will re-post it on here at some point - it is quite easy and nothing like as fiddly as it sounds. The end-result isn't perfect but they don't bend, and are better proportioned than the chubby telegraph poles cast on some figures. Most importantly it gives enough of a uniform appearance to allow figures from different manufacturers to be mixed without looking ridiculous. 


Part way through painting these, whilst looking for inspiration in contemporary illustrations and on some the excellent blogs of 28mm Italian Wars miniatures, I noticed that the rider's skirts weren't quite right, being too small and not covering the back of the saddle so I modified the later ones with Milliput.