Saturday 12 December 2015

Scenery - Vineyards

Among the scenery types available to the Italian Wars French in FoG-R are vineyards.  I have seen a lot of good commercial and home-made vineyard strips but they all seem to depict modern-style vines, grown in perfect straight lines on wires strung between posts. I’m no expert but it seems unlikely to me that 100m rolls of galvanised wire would have been available in the 16th century so this approach doesn’t seem quite right.


I made some online searches to try to find illustrations or descriptions of pre-industrial age vineyards without success, although I’m sure somebody has studied this area and published their findings. Whilst on holiday this summer, I saw a number of small vineyards near Minerve in the South of France with individual vines grown as bushes, pruned to slightly elongated shapes and in rough rows but with no wires or stakes. That seemed a more likely model to me for how most vineyards would have looked during the Italian Wars, so I based my pieces on that.

The armatures for the bushes were made from some fairly thin (about 0.5mm) steel wire which I had lying around. I cut this to approximately 40 mm lengths and twisted them together in threes using a pair of pliers. For the first few, I just twisted the three together but these tended to fall apart so I started giving an extra couple of twists to two of the wires and this made them more secure and also, I think, gave a more realistic and interesting shape. I cut the ends to length so the short, equal ends provided the ‘roots’ and bent the ‘branches’ to a suitably convoluted shape. I then covered the twists of the trunk with Araldite.  


Most vineyard bases seems to be made on lolly / painting sticks but I wanted something a bit heavier and more stable so I cut strips from the same offcuts of Amtico which I used for the broken ground markers. This time I chamfered the edges so they would blend in with the bases a bit better. I glued the armatures on with hot glue - I’m not very used to using this and didn’t make a very neat job of it as can be seen in the photo.


I built the base up using flexible decorator’s caulk, the same as for my fields, with grit and sand stuck to this with PVA and painted in my usual way. The armatures were then painted with Vallejo German Cam Brown and dry-bushed with the same colour mixed with white. 


The foliage was made from woodland scenics clumping foliage. The basic clumps were far too big for these little bushes so I cut some of them down with a kitchen blender. I glued them on with hot glue - this was suitably tacky and built up well over the armature but it was very stringy and showed through the clumps in a few places as noticeably high-gloss areas. Maybe somebody can suggest a better choice in future? After the glue was set, I used tweezers to remove excess clumps and the strings of glue - looking at the photos, I missed a few strings.

To hold the clumps together and make it all more robust, I soaked the clumps with dilute PVA and tried to shape them to cover the bare patches of glossy hot glue. When that was all dry, I painted the remaining visibly gloss bits of hot glue with dark green paint, creating the problem of different greens so I dry brushed with progressively lighter greens to get a uniform effect.


Sunday 29 November 2015

Paint for scenery

I mentioned in an earlier scenery post that I used Humbrol enamel 29 dark earth as the base coat for figure bases with Plaka yellow ochre straight from the jar and then mixed with increasing quantities of Vallejo white as dry bushed hi-lights.

When I started making the scenery shown on this blog, I wanted to use cheaper and higher volume alternatives. Yellow ochre and white were easy - I just bought relatively cheap DecoArt craft acrylic paint from Hobbycraft.

My first try at the dark earth replacement was a match pot of Homebase brown emulsion with various dark browns and greens mixed in to give a close match. That worked very well but was soon used up so I took the plunge and decided to use the Dulux colour matching system to buy a litre to an exact match. I painted a patch of Humbrol onto a sheet of card to use as a reference. Disappointingly the colour that came out (Beaver 08B25, which, oddly, does not feature on the Dulux website) proved not to be a very good match at all - too pale and grey. To compound my annoyance, Homebase insisted there were no returns allowed on mix to order paint.

Having spent the money and having no return option, I decided to try it anyway and to my surprise, once the thick dry-brushing of yellow ochre was done and the subsequent hi-lights, the finished effect was quite indistinguishable, to me, from the bases using Humbrol dark earth or the earlier scenery pieces with my hand-mixed match pot. 


Looking on the Dulux website, it looks as though there are a couple of better matches - Rich Praline 2 and Earth Glaze 1 but I guess any of the earthy medium-dark browns would work equally well.

Friday 20 November 2015

16th Century camp for FOG-R


It has taken me a long time to find a satisfactory combination of models and an arrangement for this camp: I bought the first tent at Sheffield Tripples in March 2014 and I finished the flags last night.

There are many 16th century paintings and tapestries showing camps, including the French camp at Pavia. These show the typical medieval jousting tents and pavilions with multiple flags and banners so that set the basic requirement. I decided early on that I wanted two tents, a central flagpole and some other feature so bought a couple of circular tents by Bauda then an ox cart, pack horse and some barrels, sacks, a crate and a chest from Donnington. 

When I tried to arrange these on a 120x80 mm base, two circular tents just didn’t look right so I eventually bought Bauda’s ‘King’s Pavilion’ to use with one of the round tents, the ox cart and various baggage to give a better composition. 

The next problem was finding suitable figures to populate the camp and to give a sense activity. Whilst there are lots of purpose-made sets of 15 mm ancient and medieval camp inhabitants, there are none for the Italian Wars. The nearest civilian figures I could find were in the Minifigs Hussite range but these too are very medieval looking. One idea was to use artillery crew - I have a couple of Minifigs figures, carrying a buckets which would have been suitable but I needed these as artillery crew. 

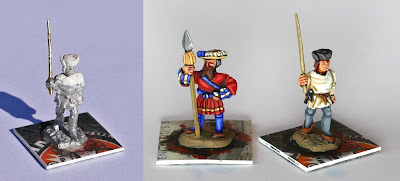
In the end I settled on just two figures. One was a medieval Donnington New Era horse handler figure (CB06) which I had bought along with the cart and pack horse. His most medieval feature was a hood and coif so I filed these off and gave him a 16th century hair style and hat from Milliput and a staff made from brass wire. So this would look more like a staff and less like a piece of wire, I filed it to a taper, added a few dents and lumps and bent it to be very slightly crooked. The second figure is a Freikorps Landsknecht provost. I have a couple of these from command packs and didn’t really know what to do with them - nice figures but un-armoured and not really right for the front rank of a pike keil. The only negative issue with these figures was that the partisan was poorly cast with a very thin shaft (actually with gaps in the casting) and a very thick blade - the overall effect was like a rugby ball balanced on a length of garden hose. I wanted to keep the cast tassel below the blade so I cut the head off, filed it down to a much thinner section and stuck it back on a 0.7 mm wire shaft. 


Once the various elements were gathered together another problem emerged - the tents looked far too small compared to the ox, ox cart and figures. Obviously this is deliberate to keep them within DBA/DBM base sizes without making them excessively tall and thin. To disguise this slightly and add some more interest to the base, I built up the areas around and immediately under the tents with thick card and a 40 mm round MDF base, leaving the ox cart and driver on the lowest level and the guard one level below the tents. This added 4-5 mm and avoided the cart sides being above the edge of the round tent’s roof.

This shows the first layer of card and the MDF circle below the round tent. I later added another layer of card below the pavilion, cut to the exact footprint. I glued the two figures, the dox and ox in place and smoothed out the steps and disguised the bases with filler. The tents and cart were glued in place after texturing and painting the base but before adding static grass and tufts.
I had long admired Simon Chick’s Burgundian blog, particularly some of the incidental details like a cat raiding the camp supplies and his specially commissioned medieval hounds. So I thought a dog and/or cat would add a bit of interest to my 15mm camp. I couldn’t find a suitable cat but Minifigs make a dog, bundled in with cows or sheep, which looked OK. I had three goes at painting him and am still not really happy with the result - a sandy coloured dog against sandy coloured ground and a sandy-yellow tent wasn’t a great idea!


I placed the Landsknecht as though guarding the King’s pavilion and challenging the approaching ox-cart handler, with the dog coming round the end of the tent to see what was going on.

The final element was to add some flags. I made a big flagpole with the baggage piled up around it and a small flagpole topping the round tent. As with most of my figures, the flag staffs are made from tube on a wire core with the flag mounted on a separate piece of tube so they can easily be removed and swapped to allow the more generic units to serve in other armies. The flags themselves were drawn in Microsoft Excel and printed on an inkjet, as with my Swiss pike keil.


As ever, I would be grateful for any comments or suggestions. One of my main reasons for starting this blog was to try to pick up tips for improvement in my painting.


Friday 13 November 2015

Scenery - hills and buildings

Hills.


It is difficult to make war-games hills look convincing. Part of the problem is that real hills tend to be big and complex in shape but war-games hills are small ovals. In the case of FOG-R in 15mm, particularly small: a maximum of 12” diameter for a standard terrain feature and 16” for a large one, so no long ridge lines or bluffs filling half the table. The other problem is making them with slopes shallow enough so the figures don’t topple over but with enough height that they look like hills. 

So far I have made a few low hills with shallow, smooth, uniform slopes. They are made from MDF, cut to the outline shape with a jigsaw and then shaped with a power planer. ( A big warning here: any wood dust is hazardous and there are suggestions the resins in MDF may be particularly bad. I did this outside wearing a proper respirator mask and even then the mess it made of the driveway makes me reluctant to make any more hills this way.)  For the double-thickness hills, I used repair plaster to smooth out the join. After sanding, I used the same finishing process as for the area pieces: PVA glue and sand, paint dark earth, dry-brush yellow ochre then yellow ochre mixed with increasing amounts of white and finally glue on some static grass. 


If I was doing this again, I think I could use thin mdd as a base and then craft foam to build up the height - the only problem with that is that it seems difficult to buy high/medium density foam in less than industrial quantities.

I have plans for some high hills and maybe a hilltop village. I have bought a small sheet of Celotex insulation foam for that. It seems very crumbly but I plan to use quite a lot of plaster and PVA to build up a more complicated shape, add texture and (I hope) make it more robust. We'll see how that goes.

Houses.


I decided to go for a generic southern European style that would work for anything from medieval to WW2 in Italy and the south of France. The first thing I think of with village and small-town buildings in these areas is a jumble of pantile roofs. I have since learnt that the typical cylindrical section tiles are actually called barrel or mission tiles. I started with a good selection of reference photos to try to make sure the overall effect was correct. 

Finding pantile / barrel tile textured roofing sheet was not so easy. The sheets made by Slaters didn’t look very convincing so I bought some Wills SSMP206 Pantiles from AGR Model Railways off Ebay. These are very clearly classic S-shaped pantiles and rather oversize for 15mm but I think the effect is good. I have now seen some other options that might look even better but without a ready source in the UK. I spent a long time thinking about how to make the ridge tiles. The best method I could think of was a bamboo skewer shaped with a V-section on one side to fit in the gap between the top edges of the roof sheets. I then held it in a modellers mitre saw box and made cuts through the curved edge to represent the joints between the ridge tiles.

This roofscape is actually Aigues-Mortes in the South of France but shows the type and mix of colours I was aiming for.
Most of the war-games model buildings I see have open shutters. This seems unlikely to me - for one thing, assuming the battle is being fought in the Mediterranean summer, in day time, they would probably be shut to keep the heat out. Another reason is that, if a load of Landsknechts, Swiss and Stradiots were going to pass near my house, I’d make sure the doors and shutters were closed and barred, any valuables, wine or food well hidden and my daughters staying with relatives in the next town! 

The structure of the building was made from picture mount card - although this is a bit thin (use a double thickness for visible walls), it cuts very cleanly and glues together well with PVA. With extra PVA to reinforce the edges and joins, the completed building is very strong and reasonably robust. 

I added stonework detail on corners, around doors and windows and to break up large plain sections using old business cards cut into thin strips and then chopped into squares and rectangles. The doors and shutters were made from slightly thicker card, scored to give a plank effect and then with addition thin card glued over the top on the doors for the rails and stiles.

Once the construction was finished, the cardboard parts were given a wash of dilute PVA for strength and then, avoiding the wooden parts, PVA and DIY filler (Tetrion or similar) to soften the edges and add a bit of texture. The stonework was painted with cheap DecoArt acrylic craft paints - Country maple as a base then dry-bushed with sandstone and sandstone and white. I also used some brown washes for the darker shadows. The doors were painted separately then glued in place.

For the roof, the first stage was to give it a coat of Sandtex fine textured masonry paint in terracotta. I bought a match pot of this many years ago and it should be enough for my modelling career. My reference photos show old roofs with quite a lot of colour variation from tile to tile. The first step was to enlist the help of my 11 year old daughter to paint a lot of individual tiles in a random pattern. We chose six or seven different darker browns and greens and she painted 10-20 tiles, randomly scattered on each side in each colour. Once this was completely dry I gave it a wash of dark brown then dry brushed with terracotta and then light-stone hi-lights.


One thing I don’t like with this first model is that the stonework detail looks too uniform. I made the mistake of making the blocks all the same height - maybe not so bad for a higher status building but less likely on a village house. For the next group of buildings - a row of smaller houses - I have cut strips to various heights and mixed them up a bit. 


I plan to make another two or three building groups, maybe including a church, and some walled areas to create a little village. As with the other area scenery, I’ll make a suitably textured base and move the building groups out of the way to allow for figure movement. 

Saturday 7 November 2015

Swiss Pike Keil


I have wanted a 16th Century Swiss Pike block for a long time and, having waited so long, I wanted to make as good a job of it as I could.

As with the rest of this army, I wanted to get as much variety of pose and dress as I could whilst maintaining a consistent size, build and style. The big problem in making a 16th Century Swiss pike block had always been that hardly anybody made 16th Swiss. Minifigs make an armoured and an unarmoured pikeman (I bought a pack of each), both wearing berets and the even older Asgard/Table Top Games/Altuos range has a few figures, some of them rather odd looking, but that was about it. The many other Swiss Renaissance ranges in 15mm were all from the late 15th Century Burgundian Wars. With nothing like enough different figures or good enough figures to achieve the variety I wanted, the Swiss never progressed beyond a wish.

Now Khurasan from the USA have come to the rescue with a range of Swiss for the later Italian Wars, Pavia and after. This includes a command pack, armoured and un-armoured infantry (the same figures with a  choice of halberds or cast pikes), arquebus, a light gun and a “renaissance death” figure. The pike/halberd infantry each come in 4 different poses and the arquebus in three.

In many ways these are excellent sculpts and almost my ideal figures: relatively realistic proportions (apart from a few huge hands), excellent detail and cleanly cast but… sadly there are a few buts that maybe don’t make these the ideal figures for everybody. First of all, they are only available direct from the USA, shipping charges are understandably high and the owner has a slightly idiosyncratic way of business - not a bad thing in some ways - the website isn’t taking orders right now so they can catch up on shipping those they have already, surely better than over-promising but under-delivering. However, you may need a bit of patience. Next, their realistic proportions make them quite fragile and some of the bases, ankles and necks are very thin and easily damaged. Also the poses aren’t quite as I would have wished - many hold their weapons heavily slanted off to the right and generally the heavily armoured figures have theirs vertical whilst the lightly armoured rear-rankers are angled forwards. I used a couple of those with the weapons angled at a low angle as extra standard bearers and others with halberds for the two elements with heavy weapons and two more mixed in among the pikes.

Khurasan 15mm Swiss

For all that, the Khurasan figures are the only game in town and very good overall. To get a bit of extra variation and expressing my inner Yorkshireman, I decided to mix in my Minifigs Swiss - the armoured pikeman matches very well but the un-armoured one is not so well proportioned and looks a bit too squat. In all cases, for strength, I glued the pikes so they touched the ground as an extra point of contact although most are clearly designed to be held well clear of the ground. I originally planned to include a pack of Minifigs French Pike but, after painting one of them, I decided they didn’t really match. I may need them for a block of French Legion at some point.

Left to right: Khurasan, Minifigs Unarmoured Swiss, Minifigs French, Minifigs Armoured Swiss, Khurasan

To differentiate the Swiss from my earlier Landsknecht (apart from the Swiss crosses and hand and half swords rather than katzbalgers) I decided to use a more restricted range of colours with the majority of figures having at least some red. I also went with only white feathers. As usual I used brass wire for the pikes so ordered all the packs with halberds - I have plans for some of them as discarded weapons for disorder markers.


The final point was to sort out some flags. I was very disappointed to find that the Swiss in mercenary service didn’t use their iconic cantonal banners but something relating to their paymasters. I took much of my information on flags from Massimo Predonzani’s book on the battle of CĂ©risoles. This excellent reference is only available in Italian or French but, even for somebody like me who can barely manage an Asterix book in French, is well worth getting. In summary he says that Swiss flags in French service always had the French white cross; with the arms reaching the edges of the flag, in contrast to the truncated Swiss white cross. They would have either quarters in different colours or with bands of different colours to differentiate between the various sub-units. The general trend was for the number of bands to increase with time. At the time of Pavia there were three bands: yellow with blue, white or red. I’m not 100% convinced by this. Although the Pavia tapestry clearly shows three unequal yellow bands on a white (maybe blue or grey - it is all a bit faded) background with a white cross (not a great combination if you want a strong colour contrast) this looks a bit awkward and later flags had equal numbers of bands in each quadrant. Typically flags were 2.8m high by 3.7 wide - I made mine at about 1:110 and they seem huge. I wish I had done the flags before basing so I could have taken care to make space for them in the next rank - I might even have used double-depth bases to combine the second and third ranks.


All my previous flags (apart from the St George and the dragon Gendarm flag) have been hand painted but I needed 4 flags for the keil, another for the arquebus screen and some more for the camp which I was finishing off at the same time so I decided life was too short. These (maybe temporary) flags were designed in MS Excel and printed off on an inkjet.


Monday 2 November 2015

15mm Gendarmes - size comparison

Vexilla asked for a size comparison photo of my Gendarmes so it is:

From left to right: old Minifigs gendarme on own horse; Essex; TTG / Altuos Pensioner; TTG / Altuos French Gendarme; old Minifigs Archer on modified current Minifigs 15th C horse; current Minifigs French gendarme on own horse
I think the Minifigs and TTG figures mix and match quite well but the Essex figures are a bit too big and much too bulky to use in the same unit or swap riders and horses though they look OK on the table together.

I also took some photos and measurements of the horses and riders separately.


I measured the riders from foot to visor slit with a vernier. There is probably some variation in how the helmets are sculpted but this was the best measurement I could think of. From left to right:

  • Current Minifigs French Gendarme 15.0 mm
  • Old Minifigs French Gendarme 15.8
  • Old Minifigs French Archer 15.5
  • TTG/Altuos Pensioner 15.5
  • TTG/Altuos French Gendarme 15.9
  • Current Minifigs Officer 15.5
  • New Minifigs French Gendarme 15.0
  • Essex 17.4
  • Venexia 16.7


For the horses, I measured body length and height from the top of the base to the top of the saddle. Again, from left to right:
  • Old Minifigs Gendarme's horse. h 13.3, l 16.6 mm
  • Minifigs 15th C barded horse modified with Miliput to make the barding more 16th C style. h 12.8 l 16.5
  • Current Minifigs French Gendarme's horse. h13.7 l 16.9
  • TTG/Altuos. h 13.3 l 16.5
  • Venexia h 14.7 l 18.0
  • Essex h 13.0 l 18.0 (I had filed a lot off the saddle because otherwise the rider, which was rather long in the body and short-legged, sat way too high.)
There is a definite gap in the market for a good set of early 16th C French gendarmes and barded and unbranded horse, with a variety poses and actually looking like the contemporary illustrations. 


Saturday 24 October 2015

Scenery - woods, rough ground and fields

I have just made myself a new war-games board to fit over the dining table and bought one of the excellent Mat O’ War cloths from Antenocities Workshop http://www.antenocitisworkshop.com/mat-o-war-green-2m-x-1-25m.html and wanted to upgrade my scenery to match the mat, my basing colours and be compatible with the rather prescriptive rules of Field of Glory Renaissance.

I already had some hills that could be re-surfaced and plenty of hedges and trees so my main requirement was for the various types of flat area terrain: woods, broken ground, brush, fields, vineyards, plantations, etc. I looked at the ready made scenery from Miniature World Maker - I liked the way this lay flat on any surface and its durability but it seemed expensive and wasn’t a very good colour match for what I wanted so I decided on the home made approach. 

Antenocities recommended a particular static grass as a good match for their green Mat O’War so I  had ordered a couple of packs of that but when they arrived they seemed too bright. Luckily I already had a bag of darker and duller static grass which I had been using, dry-brushed with yellow ochre to lighten and high-light, for basing my Italian Wars army. This mixed in to give a much closer match and plenty for my needs. 

The first question was what to use as a base material. I wanted something flexible, tough, not too thick but heavy enough to lie flat and not move about. Many years ago I acquired some green and grown carpet tiles to use as a playing surface and give a patchwork field effect for 1/300 scale WW2 (you could get away with simpler scenery in the 80s!). After pulling the felt-like covering off and singing the last fibres off, wire brushing and sanding the surface of the rubber-base, I was left with just the type of base I wanted. These were only one foot square and It would be great to get some slightly bigger pieces but all the modern tiles I have seen so far have the carpet surface too deeply embedded in the rubber. 

I decided to just use the same basic technique and colour scheme that I use for figure bases. A base of sand, glued on with PVA. A base coat of dark earth then dry brushed first with yellow ochre then a couple of progressively lighter yellow ochre and white. The static grass is then glued on with more PVA, followed by any tufts. Instead of my usual Humbrol matt dark earth for the base colour, I bought a brown emulsion match pot and mixed in some other acrylics to get a fairly close colour match. I should have just got a litre of Dulux mixed to match a colour swatch - I’ll have to do that anyway as the first pot has almost run-out now.

The first thing was to make some general purpose irregular terrain areas that could serve as woods, broken ground or brush with different types of add-on features. The rubber cuts easily with a craft knife then it was just a matter of applying the fine sand, painting and glueing on the static grass.

This shows both trees and broken ground markers - in use it would be one or another. The broken ground markers are offcuts of Amtico flooring with caulk to add height, granite chips and sand. All painted and with static grass and tufts as usual and Woodland Scenics clumping foliage as bushes.
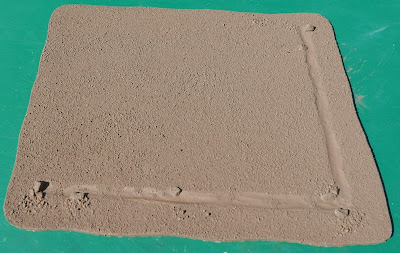
Next on this list was some straight-sided pieces as fields, plantations and vineyards. I wanted to put some more detail into these, sacrificing flexibility of use. One advantage of the fairly thick (about 3mm) base, is that features can be carved into the surface so I cut shallow trenches along some parts of the sides to indicate ditches. I left a wide enough space around the edges to take the hedges I already had so I could distinguish between open and closed fields. 

I wanted a ploughed effect on some field sections so spread decorator’s caulk over the surface and used a piece of card with a serrated profile cut in the edge to drag across creating the furrows. I also used a coarse brush to create tracks between field sections. For the fields, I added a few small rocks and grit around the edges to add interest. 


After the usual painting I used dark washes to deepen the ditches and added dark green 6 mm tufts to represent reeds and unusually lush grass in the arid Italian countryside. I considered using a proper water effect but was worried that might crack and settled on a couple of coats of gloss varnish - over such a small and thin area I think the effect is just about OK. I only applied static grass around the edges to blend in with the Mat O’War. 


I wanted part-grown crops along the tops of ploughed areas. I imagined this would be easy - brush across with PVA which would only catch on the high points then scatter on finely minced clumping foliage. That didn’t work at all. After some more trial and error, the best result was a couple of cycles of painting along the furrows with PVA and covering with a fairly fine turf mix.

Even with painting the tops with PVA, clumping foliage didn’t give very clear definition.
Foam particle turf mix worked better, I think.

This empty field shows how the hedges fit on to make it an enclosed field. My plan is that this could also be used as a plantation or vineyard (the vines are a story for another day).
It would be great to get some comments on these posts. So far, there have been a few hundred views but no comments but I'd really welcome some constructive feedback. 

Sunday 4 October 2015

Louis II de la Trémoille

Now I am catching up with actual painting progress - this is one of the most recent groups that I have painted. Louis de La Trémoille was one of the most prominent French Generals of the Italian Wars from Fornovo to his death at Pavia.


The figures are Minifigs - the current 3rd generation with some Milliput modifications to the gendarme and general's skirts and the gendarmes' horse barding as well as my usual replacement of the bendy lance with brass rod and Lilliput. Whilst the general and gendarme figures are pretty good, I don't think the bugler is anything like as nice a figure as the 2nd generation one which I used with Bourbon. Unfortunately there aren't many options for early 16th Century heralds. 

I have read that coats of arms were not worn by this time but the pictures I found of Louis all show him with an elaborately decorated tunic with his own arms and those of a Marshal of France so I was in two minds about it. In the end the fact that the model's tunic has a lot of creases persuaded me to believe the 'no heraldry' line.

Overall I was very pleased with these. I seem to have got the hang of varnishing and have had no problems with either a satin finish or white patches in the creases. 

Charles III, Duke of Bourbon and some Mounted Crossbowmen

My plan original plan was to build a collection with a core that, with a few flag swaps, could pass for French, Imperial or one of the Italian states. Who better then as a general than Charles III, Duke of Bourbon who was Constable of France, played a prominent part at Marlignano then switched sides in 1523 and fought for the Imperialists at Pavia and finished up sacking Rome with an Imperialist army.

The figure for Charles is an old Asgard/TTG general on a Minifigs horse, accompanied by a current Minifigs (3rd generation) gendarme with a hand painted banner and a Minifigs 2nd generation bugler. I don't understand why some of the Minifigs 2nd generation figures were replaced as many - like this one - are much superior to the ones which replaced them. I had some varnishing problems and ended up with a slightly satin finish and too-thick varnish.


These were some Minifigs 2nd generation figures which I had had in the lead pile for a long time. They look a bit early to me but are nicely proportioned and moulded.


Monday 21 September 2015

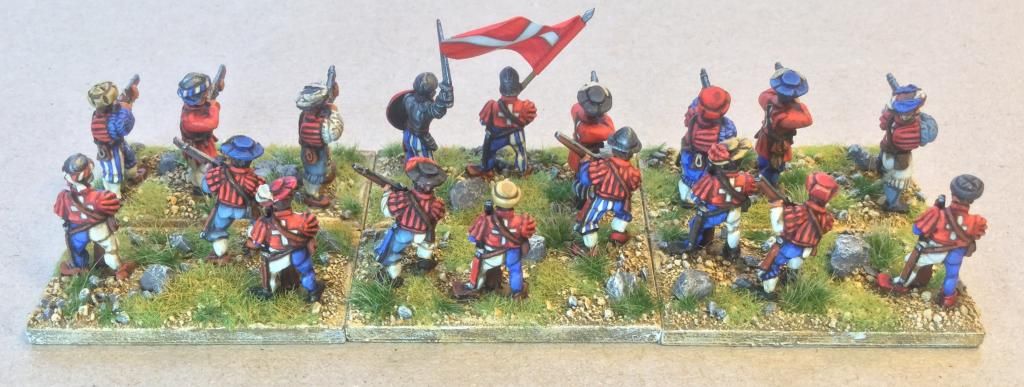
French Valois Arquebusiers

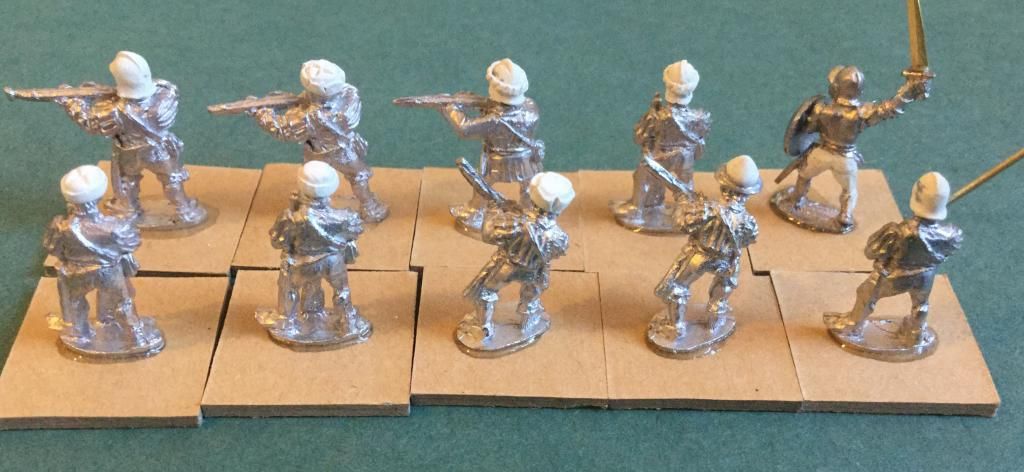
Having looked around for a while for suitable figures, I bought a bag of Old Glory generic arquebusiers RGE6 from Time Cast Models.

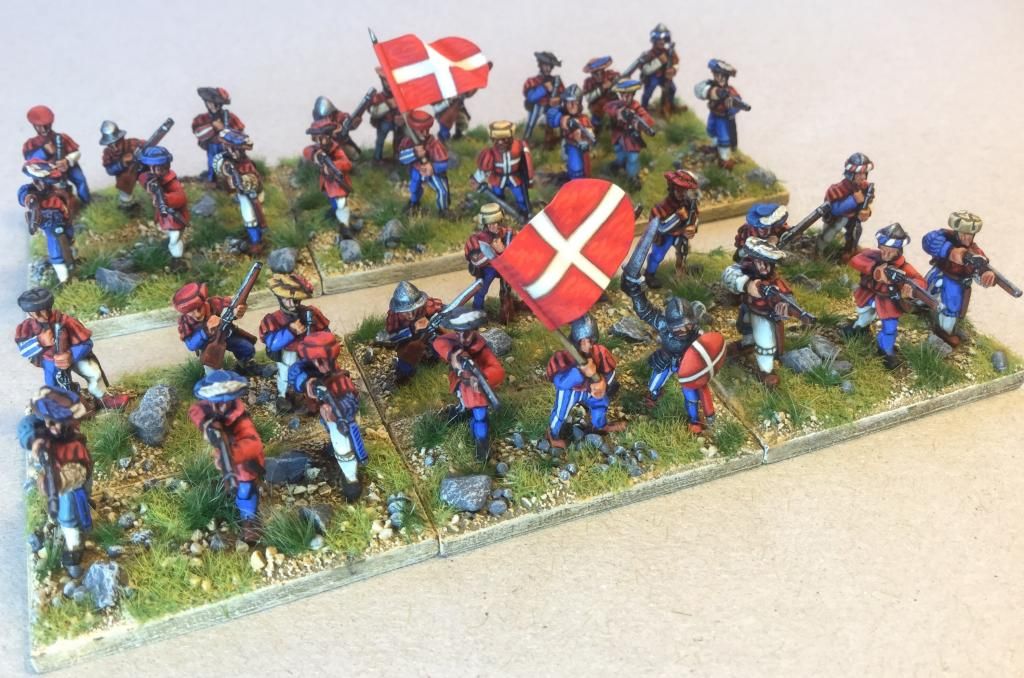
I painted up the first batch with a limited range of colours but they looked too much like Landsknechts and I didn't like that they all wore identical hats. So, after seeking some advise on the Miniatures Page, I modelled a selection of new hats and helmets with Miliput. The first ones were rather clunky but I was quite happy with the later ones. The officers are a couple of spare sword and bucker men from Venexia and Essex modified a bit to give them similar headgear to the others and remove the baggy pantaloons on the Venexia figure.


Once painted and mixed in with standard figures, this gave much more of the look I had wanted.


Sunday 20 September 2015

Making lances

I originally posted an explanation of my lance-making process on the Slithering FOG-R board last year - I'm playing catch up with this blog to get to the current state of my painting progress.

It sounds a long process but each step is quick and, if you do a few together, it doesn't take long at all.

I use 0.8 mm brass wire. After shaping the point and cutting them to length, I mix up some Milliput and roll some into a long, thin (about 1mm dia) sausage. I cut a piece (about 30 mm long, IIRC) and wrap it around the lance in a spiral, starting with the spirals close together at the hand-end and widening the helix towards the point. I then roll the lance ona smooth cutting mat. Surprisingly this spreads the Milliput around the wire core very evenly, keeping the wire central. Then I set them aside to cure. Before the Milliput is absolutely hard, I cut the step for the hand with a sharp knife - doing it then avoids the risk if chipping or fracture.

Here is a photo of the lance making process:


For sanding the lance to final shape, I hold the lance in a pin vise. Rough shaping is with a file to give a uniform cone then with folded-over sand paper wrapped around a dowel to give the flared profile (the nose of the vise helps with this) and smooth surface.

The extra-long ones are for Essex figures, to compensate for needing an extra few mm below the hand. Although it makes the proportions wrong, I prefer to have the extra stability of having the lance glued to the figure at two points.

I painted about half the lances with the 'barber's pole' spiral pattern. Tis was also done in a pin vise, free hand, painting a bit then rotating 45 degrees or so and painting a bit more. You can actually do multiple steps, equally spaced for each rotation. If you look close enough, the spirals aren't that neat: I use a three shade method so the boundary from one colour to the other is softened, averages out and looks smooth. It takes a bit of practice but the method is quite easy. One thing to look out for is that to keep the spiral thickness about the same, the helix needs to change as the diameter reduces. The sad thing is that I suspect the barber's pole lances were not used in battle but they look pretty.

Essex Gendarmes

I have rather mixed feelings about these figures. They are very cleanly cast with good detail but most of the horses have a rather heads-down defeated pose and the thick, cast-on lances are held out to the side in what looks a very uncomfortable pose. Some of the figures are perfect for French Gendarmes but others are more Germanic looking and one had what looks more like a jousting helmet than the typical close helmet / armet.

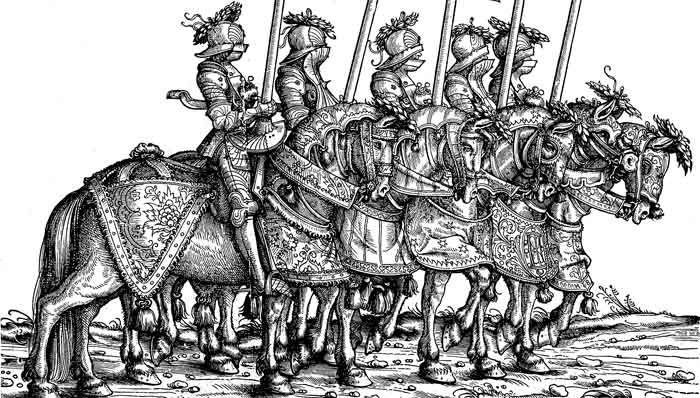
One of the horses has barding straight out of the Triumph of Maximilian - although very well done, it just doesn't look like the smoother style of barding seen used by French Gendarmes in the Pavia Tapestries and the Voyage de Genes. I wish in hindsight that I had remodelled this with Miliput.


As with the previous group of Minifigs and Asgard / TTG Gendarmes, I replaced the lances with wire/Miliput and bent the arms to bring them closer to the body.


More Gendarmes

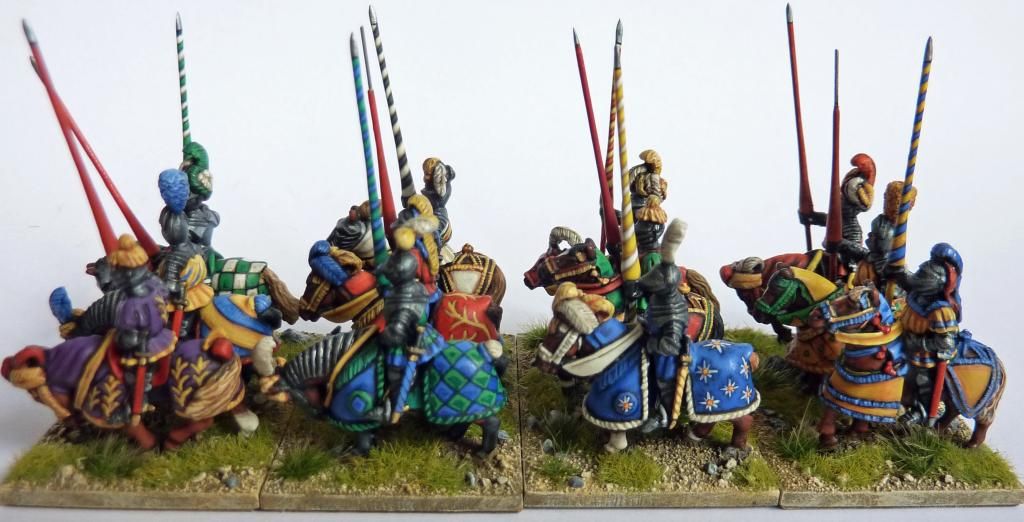
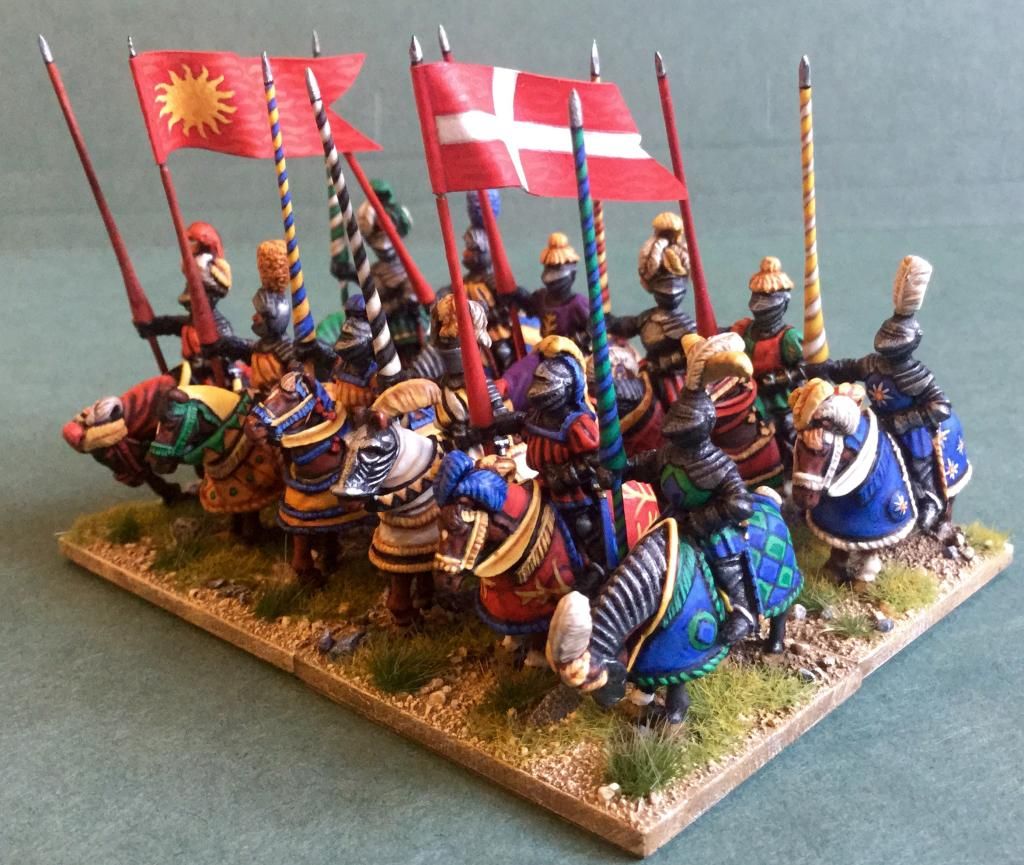
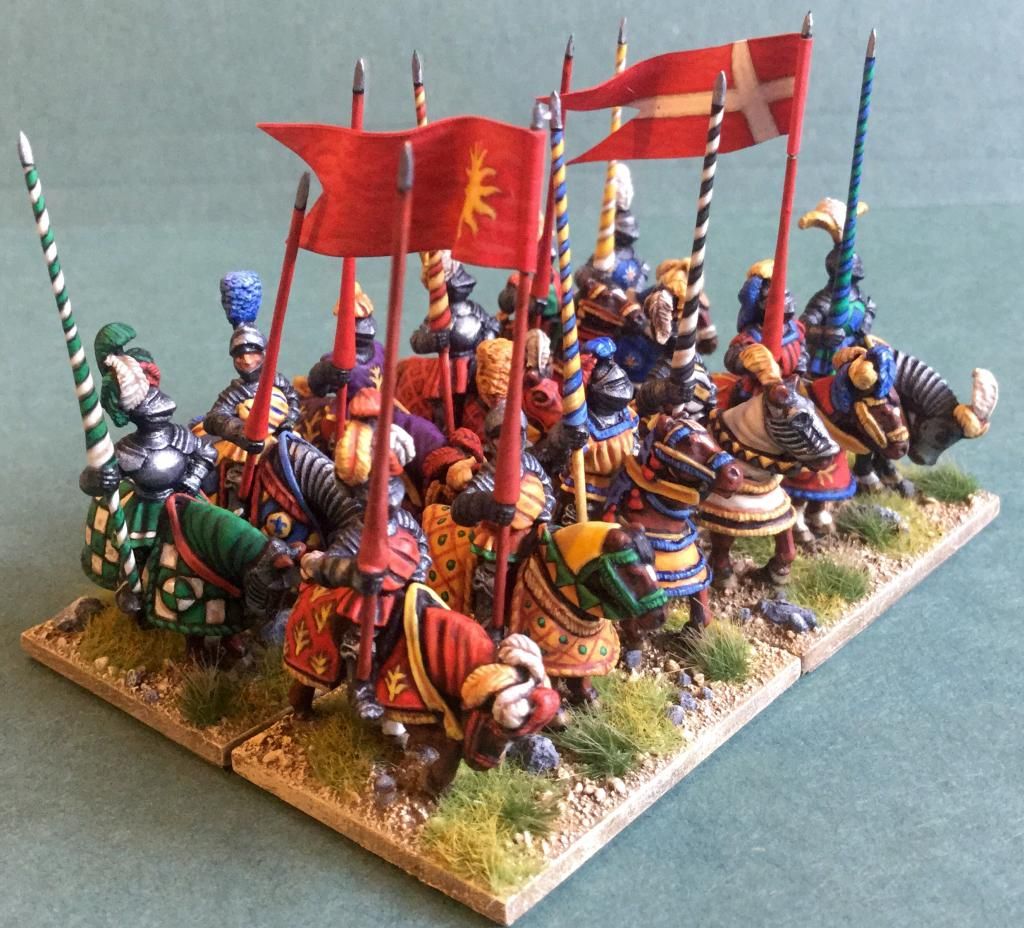
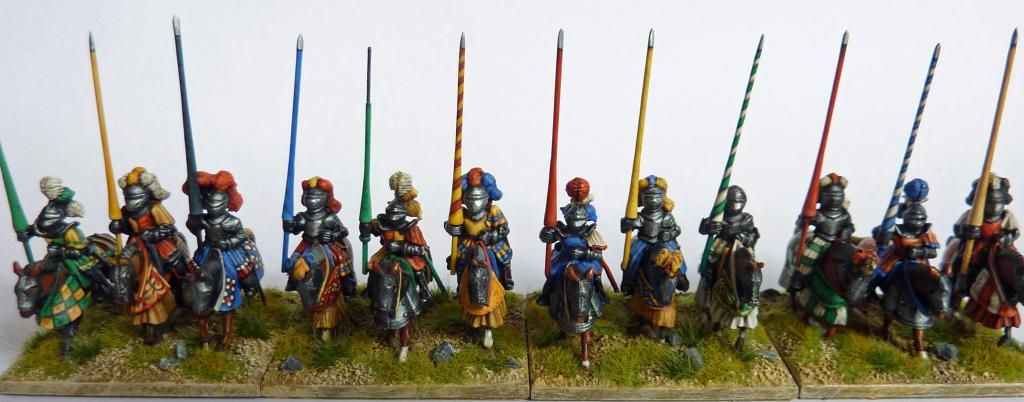
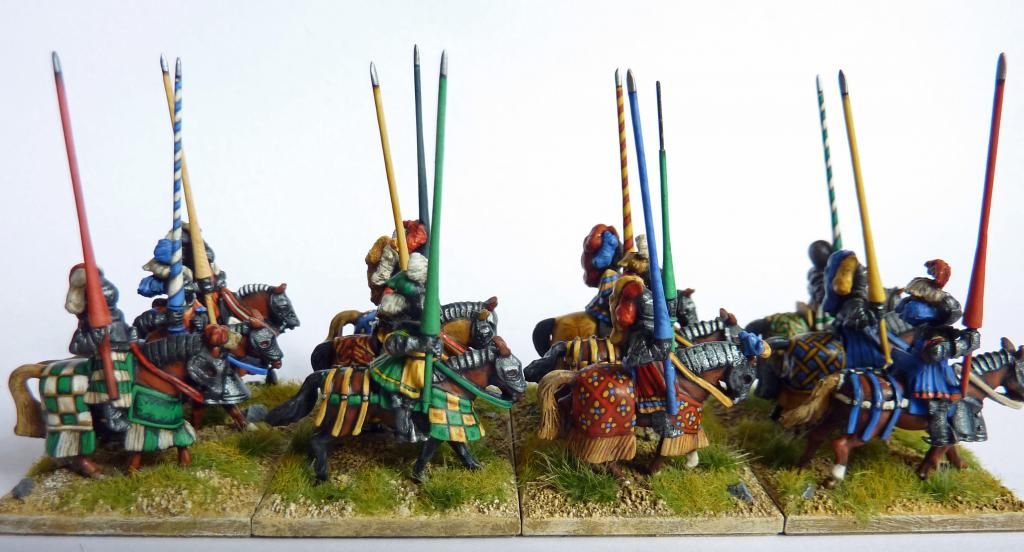
My lead mountain contained some more, unpainted 2nd and 3rd generation Minifigs and old Asgard gendarmes and painting another couple of units of Gendarmes was next on my jobs to do list. I only had enough figures for one unit so I sent off for a dozen Essex gendarmes to try to get more variety. When these arrived the difference in build was far too much to mix them in with the smaller and thinner Minifigs and Asgard/TTG figures in the same unit, though I thought they would look OK on the table together. 

One problem was the huge difference in their lances. I normally replace spears, pikes and lances with brass wire but plain wire doesn't look much like a late-medieval / renaissance lance, even with the blobs of epoxy that had seemed OK as a hand guard when I painted my old unit of gendarmes. Eventually I found a fairly quick and effective way of making replacement lances with brass wire and Milliput. I posted a how to for this some while ago on the Miniatures Page and will re-post it on here at some point - it is quite easy and nothing like as fiddly as it sounds. The end-result isn't perfect but they don't bend, and are better proportioned than the chubby telegraph poles cast on some figures. Most importantly it gives enough of a uniform appearance to allow figures from different manufacturers to be mixed without looking ridiculous. 


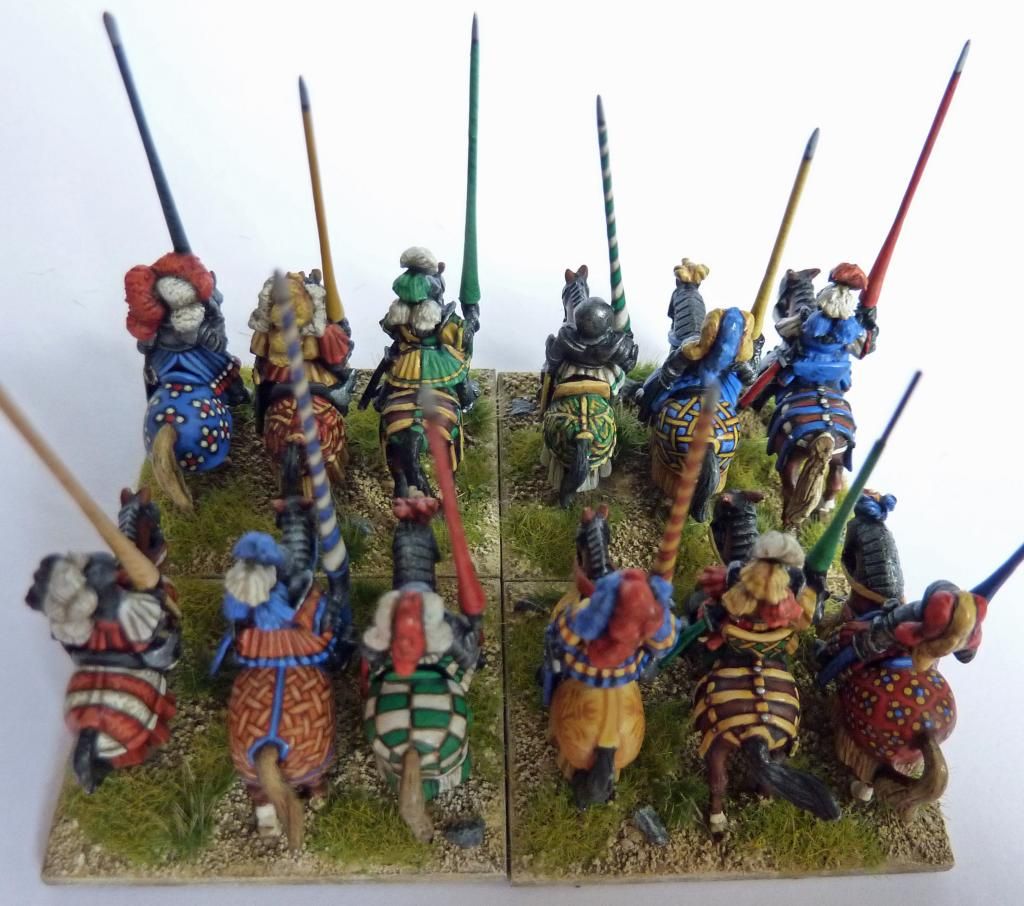
Part way through painting these, whilst looking for inspiration in contemporary illustrations and on some the excellent blogs of 28mm Italian Wars miniatures, I noticed that the rider's skirts weren't quite right, being too small and not covering the back of the saddle so I modified the later ones with Milliput.